 -
-Next.js 有多种处理路由的方式。今天我想向你展示如何拦截路由。 让我们从一个简单的例子开始。
创建画廊页面
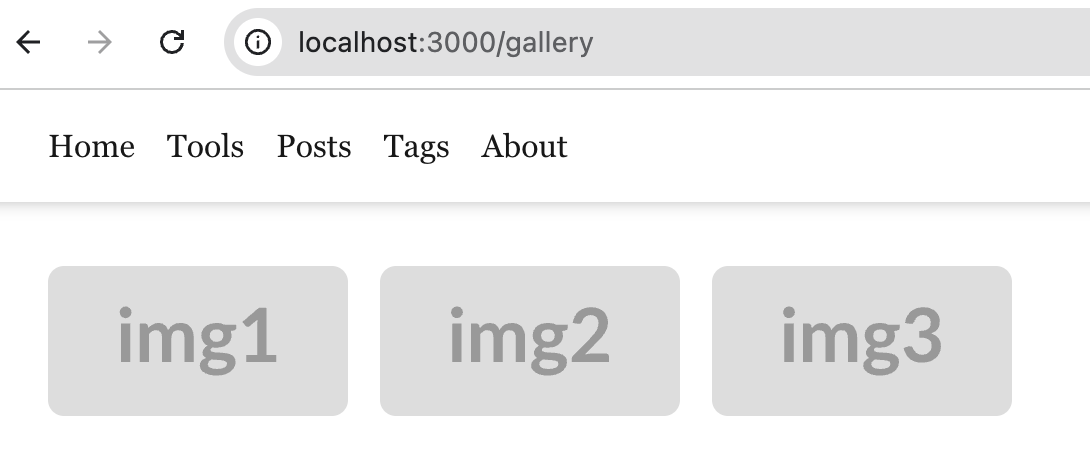
首先,让我们创建一个包含图片列表的画廊页面。
// app/gallery/page.tsx

export default function Gallery() {
  const images = [
    {
      id: "1",
      src: "https://placehold.co/300x150@2x.png?text=1",
      alt: "gallery image 1",
      width: 300,
      height: 150,
    },
    {
      id: "2",
      src: "https://placehold.co/300x150@2x.png?text=2",
      alt: "gallery image 2",
      width: 300,
      height: 150,
    },
    {
      id: "3",
      src: "https://placehold.co/300x150@2x.png?text=3",
      alt: "gallery image 3",
      width: 300,
      height: 150,
    },
  ]

  return (
    <div className="p-8 grid grid-cols-1 md:grid-cols-2 lg:grid-cols-3 gap-4">
      {images.map((image) => (
        <Link key={image.id} href={`/gallery/${image.id}`}>
          <Image
            src={image.src}
            alt={image.alt}
            width={image.width}
            height={image.height}
          />
        </Link>
      ))}
    </div>
  )
}
现在我们有了一个包含图片列表的画廊页面。
添加动态路由
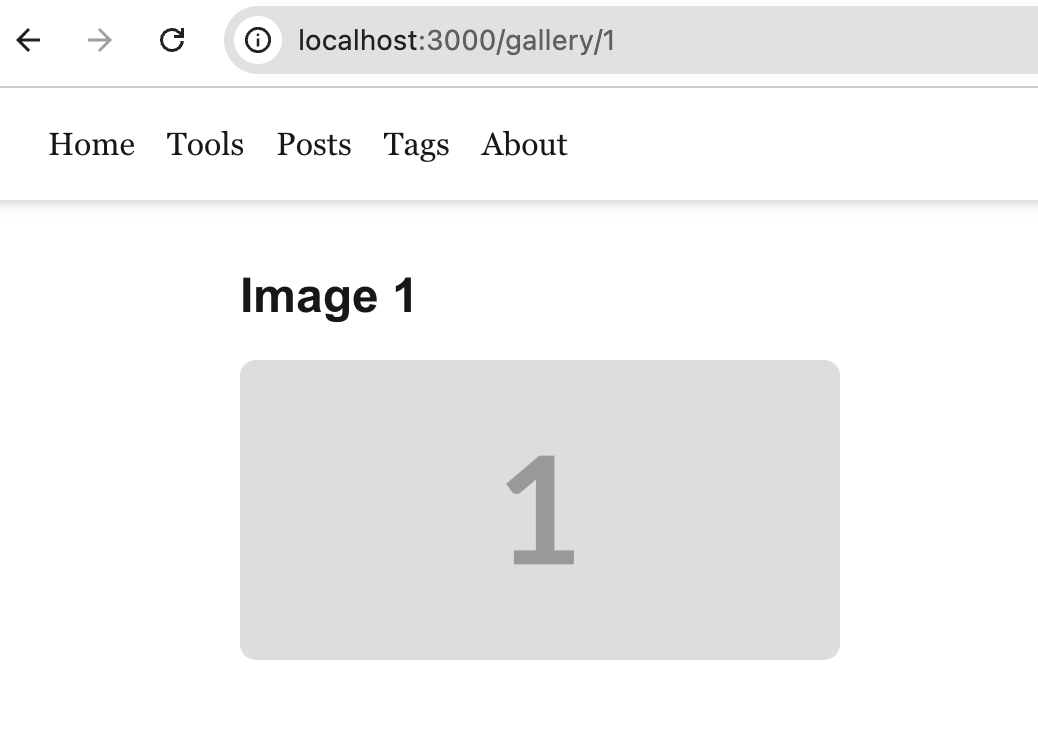
当我们访问像 /gallery/1 这样的 URL 时,它会重定向到 /gallery/1。1 代表图片的 ID。
// app/gallery/[imageId]/page.tsx

import Image from "next/image"

export default function ImagePage({ params }) {
  const { imageId } = params

  const getImageById = (id) => {
    const images = {
      1: {
        id: "1",
        src: "https://placehold.co/300x150@2x.png?text=1",
        alt: "gallery image 1",
        width: 300,
        height: 150,
      },
      2: {
        id: "2",
        src: "https://placehold.co/300x150@2x.png?text=2",
        alt: "gallery image 2",
        width: 300,
        height: 150,
      },
      3: {
        id: "3",
        src: "https://placehold.co/300x150@2x.png?text=3",
        alt: "gallery image 3",
        width: 300,
        height: 150,
      },
    }
    return images[id]
  }

  const image = getImageById(imageId)

  if (!image) {
    return <div>Image not found</div>
  }

  return (
    <div className="container mx-auto p-8">
      <h1 className="text-2xl font-bold mb-4">Image {imageId}</h1>

      <Image
        src={image.src}
        alt={image.alt}
        width={image.width}
        height={image.height}
        className="rounded-lg"
      />
    </div>
  )
}
然后我们为每张图片都有一个动态路由。我们可以直接访问 /gallery/1 来查看图片。
拦截路由
正如你在官方文档中看到的:
拦截路由允许你在当前布局内加载来自应用程序其他部分的路由。当你想要显示路由内容而不让用户切换到不同上下文时,这种路由范式很有用。
这段话有点复杂,难以理解。让我们想象这样一个场景:
我们有一个画廊页面,当我们点击图片时,我们想要显示图片。但我们不希望用户离开画廊页面。你知道在大多数情况下,当用户重定向到新页面时,他们可能不会再回来。
(.) 匹配同一级别的段
(..) 匹配上一级的段
(..)(..) 匹配上两级的段
(...) 匹配根 app 目录的段
让我们使用第一个规则 (.) 来匹配同一级别的段。
// app/(.gallery)/[imageId]/page.js
"use client"
import Image from "next/image"
import { useRouter } from "next/navigation"
import { useState, useEffect } from "react"
import { use } from "react"
export default function ImageModal({ params }) {
const router = useRouter()
const unwrappedParams = params instanceof Promise ? use(params) : params
const imageId = unwrappedParams.imageId
const [imageData, setImageData] = useState(null)
const [error, setError] = useState(null)
const [loading, setLoading] = useState(true)
useEffect(() => {
if (!imageId) return
setLoading(true)
try {
const images = {
1: {
src: "https://placehold.co/300x150@2x.png?text=1",
alt: "gallery image 1",
width: 300,
height: 150,
},
2: {
src: "https://placehold.co/300x150@2x.png?text=2",
alt: "gallery image 2",
width: 300,
height: 150,
},
3: {
src: "https://placehold.co/300x150@2x.png?text=3",
alt: "gallery image 3",
width: 300,
height: 150,
},
}
const image = images[imageId]
if (image) {
setImageData(image)
} else {
setError(`Image with ID ${imageId} not found`)
}
} catch (err) {
console.error("Error loading image:", err)
setError("Error loading image data")
} finally {
setLoading(false)
}
}, [imageId])
useEffect(() => {
const handleKeyDown = (e) => {
if (e.key === "Escape") {
closeModal()
}
}
document.addEventListener("keydown", handleKeyDown)
document.body.style.overflow = "hidden"
return () => {
document.removeEventListener("keydown", handleKeyDown)
document.body.style.overflow = "auto"
}
}, [])
const closeModal = () => {
router.back()
}
const handleModalClick = (e) => {
e.stopPropagation()
}
return (
<div
className="fixed inset-0 bg-black bg-opacity-80 flex items-center justify-center z-50"
onClick={closeModal}
>
<div
className="relative bg-white/10 rounded-lg p-4 max-w-[90%] max-h-[90%] overflow-auto"
onClick={handleModalClick}
>
<div className="flex justify-end items-center mb-4">
<button
onClick={closeModal}
className="text-white hover:text-gray-300 text-2xl"
aria-label="Close modal"
>
×
</button>
</div>
<div className="flex justify-center">
{error ? (
<div className="text-red-400 p-4">{error}</div>
) : loading ? (
<div className="text-gray-300 p-4">Loading image...</div>
) : (
imageData && (
<Image
src={imageData.src}
alt={imageData.alt}
width={imageData.width}
height={imageData.height}
className="rounded-lg max-h-[70vh] w-auto object-contain"
/>
)
)}
</div>
</div>
</div>
)
}
当我们点击图片时可以看到模态窗口,我们可以在浏览器中看到 URL 是 /gallery/1。然后我们可以将 URL 分享给其他人。
工作原理
在 Next.js 的拦截路由机制中:
- 当用户通过客户端导航(点击链接)从 /gallery 导航到 /gallery/1 时,Next.js 检测到有一个匹配 (.)gallery/[imageId] 的拦截路由,所以它显示一个模态窗口。
- 当用户直接访问 /gallery/1(例如,通过在新标签页中打开或刷新页面)时,Next.js 检查是否有匹配此路径的标准路由。如果 gallery/[imageId]/page.js 存在,它会渲染这个页面而不是模态窗口。
这两个文件通常共存:
- gallery/[imageId]/page.js - 处理直接访问
- (.)gallery/[imageId]/page.js - 处理拦截路由(模态窗口)
Next.js 根据以下规则决定使用哪一个:
- 如果用户通过客户端导航从同一级别的路由导航,使用拦截路由
- 如果用户直接访问 URL 或从其他地方导航,使用标准路由
为了完整的用户体验,应该提供两个文件,但它们可以共享大部分逻辑,仅在呈现样式上有所不同(一个作为完整页面,一个作为模态窗口)。